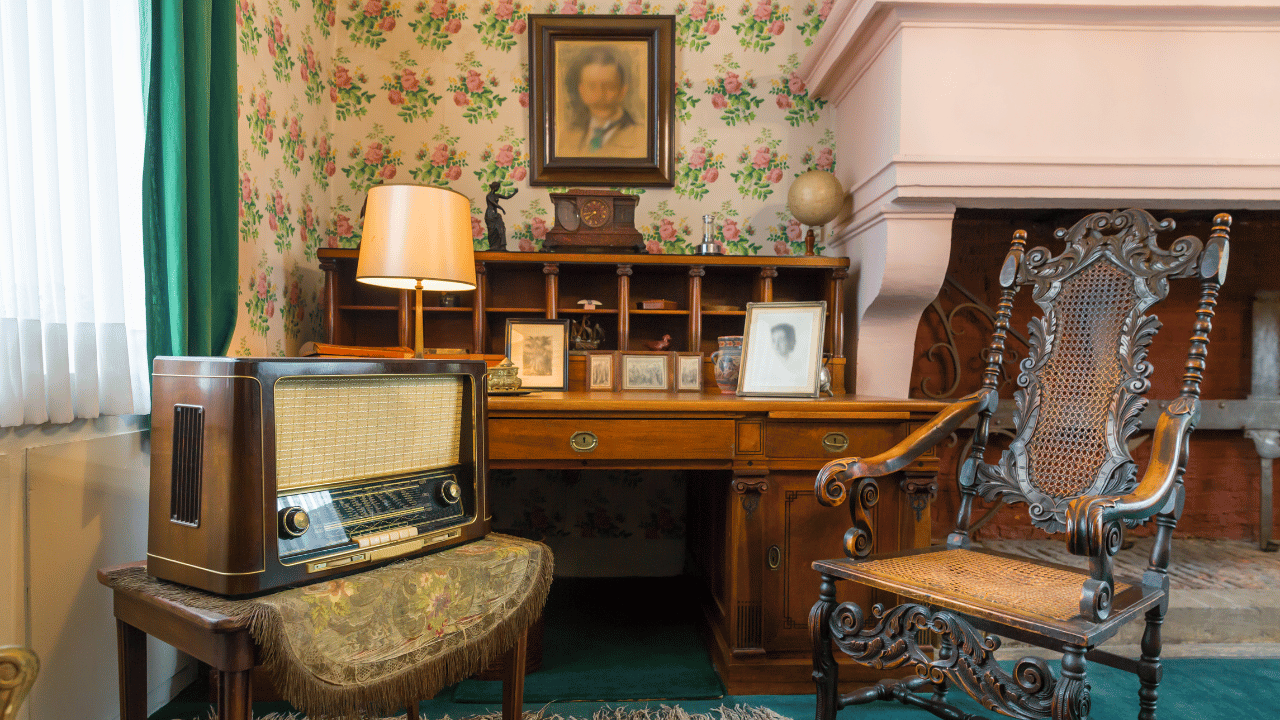
Vintage furniture isn’t just practical; it’s full of history and charm. Restoring old pieces can be a creative and fulfilling hobby for seniors, offering the chance to preserve beautiful craftsmanship while adding a personal touch to your home. Sponsored by SeniorHMOplans.com, this guide will walk you through the basics of furniture restoration. For more creative and engaging ideas tailored to seniors, visit SeniorSearching.com!
A Story to Inspire Your Restoration Journey
When Mary restored her grandmother’s old rocking chair, it wasn’t just about fixing broken wood. It was about reviving the memories of quiet evenings spent with her family. This is the magic of restoration—bringing cherished pieces back to life while creating new memories.
Why Restore Vintage Furniture?
Restoring furniture isn’t just about saving money—it’s about creating something meaningful. Here are a few reasons why this hobby is perfect for seniors:
- Nostalgia: Breathe new life into pieces that hold memories or remind you of the past.
- Creative Expression: Add your personal flair with custom finishes, paint, or upholstery.
- Sustainability: Reduce waste by refurbishing instead of buying new.
- Relaxation: The hands-on process can be calming and rewarding.
- Creating Heirlooms: Transform ordinary furniture into special keepsakes for your loved ones.
Step 1: Choose Your Project
Start with a piece that inspires you and matches your skill level. Look for furniture that:
- Has good structural integrity (check for wobbly legs or deep cracks).
- Needs minor repairs rather than a complete overhaul.
- Fits well with your existing decor or serves a practical purpose.
Common beginner projects include wooden chairs, small tables, or picture frames. Imagine turning a simple side table into a focal point in your living room!
Step 2: Gather Your Tools and Materials
Here’s what you’ll need to get started:
- Sandpaper or Sander: For removing old paint or finish.
- Paint Stripper (Optional): To strip tough finishes.
- Wood Glue and Clamps: For repairing joints or cracks.
- Paint, Stain, or Varnish: Choose based on the look you want.
- Brushes and Rags: For applying finishes.
- Safety Gear: Gloves, goggles, and a mask for protection.
Pro Tip: If you’re new to restoration, start with water-based paints or stains for easy cleanup.
Step 3: Prepare the Piece
Preparation is key to a successful restoration:
- Clean Thoroughly: Remove dust, dirt, and grime using a damp cloth and mild soap.
- Strip Old Finish (Optional): Use a paint stripper or sandpaper to remove peeling paint or varnish.
- Repair Damage: Tighten loose joints, glue cracks, and fill small holes with wood filler.
Let the piece dry completely before moving on to the next step. Troubleshooting Tip: If your paint bubbles during stripping, ensure you’re not applying too much heat or stripper.
Step 4: Add Your Creative Touch
This is where the fun begins! Customize your furniture with:
- Stain or Paint: Enhance the wood’s natural beauty with a stain or create a bold statement with paint.
- Distressing: For a rustic, vintage look, lightly sand edges and corners.
- New Hardware: Replace knobs or handles for a fresh, updated feel.
- Upholstery: Re-cover seats or cushions with fabric that matches your style.
Imagine creating a colorful chair with a bold pattern that becomes the centerpiece of your room!
Step 5: Protect Your Work
Apply a protective finish to ensure your piece lasts for years:
- Use a clear varnish or polyurethane for wooden surfaces.
- For painted pieces, consider a wax or sealant to prevent chipping.
Allow the finish to dry fully before using the furniture. Bonus Tip: Test your finish on a hidden area before applying it to the entire piece.
Step 6: Showcase Your Creation
Place your restored piece in a spot where it can shine. Whether it’s a coffee table in the living room or a decorative chair by the window, your furniture will serve as both a functional item and a conversation starter. You can even create themed pieces—a beach-inspired table with shells or a farmhouse-style bench with distressed paint.
FAQs:
- What if I’ve never done restoration before?
Start with a small, simple project and use beginner-friendly materials like water-based paint. Take your time, and don’t worry about perfection. - What are the best places to find vintage furniture?
Check local thrift stores, garage sales, or even your attic for hidden treasures! - How do I prevent mistakes?
Always test your tools and materials on a small area before applying them to the entire piece.
Conclusion:
Restoring vintage furniture is a hobby that combines creativity, relaxation, and sustainability. It’s a chance to create something uniquely yours while preserving the charm of the past. Ready to get started? Visit SeniorSearching.com for more creative and inspiring ideas. And remember, SeniorHMOplans.com is here to support your health and happiness every step of the way!


