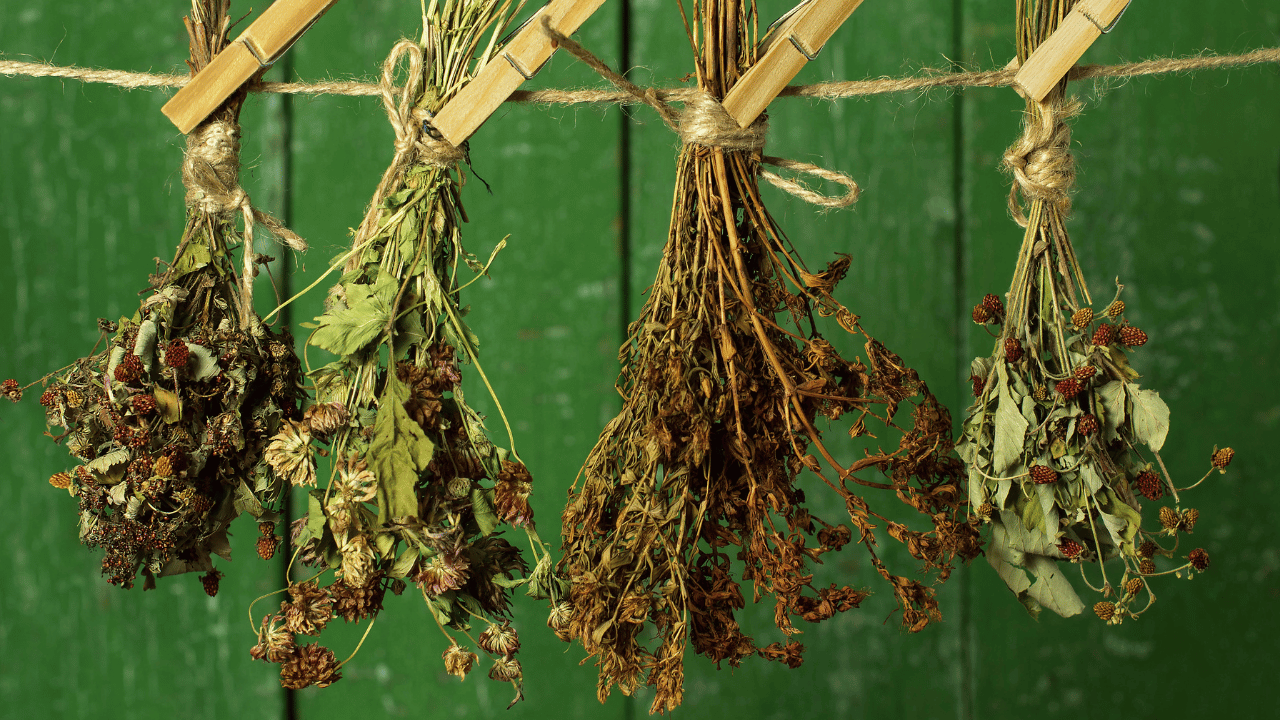
Imagine walking into your kitchen and having fresh, home-dried herbs at your fingertips to flavor your meals, create soothing teas, or even craft homemade gifts. Drying herbs at home is an enjoyable, cost-effective hobby that connects you to nature and enhances your everyday life.
At SeniorSearching.com, we bring you inspiring ideas to make your golden years vibrant and rewarding. This article is proudly sponsored by SeniorHMOplans.com, your trusted resource for finding Medicare Advantage plans tailored to seniors. After all, hobbies like this are best enjoyed with good health. Visit SeniorHMOplans.com to secure a plan that keeps you active and thriving.
1. Why Start Drying Herbs at Home?
- Save Money: Dried herbs at the store can be expensive, but growing and drying your own is budget-friendly.
- Boost Flavor: Home-dried herbs often have a stronger, fresher taste compared to store-bought ones.
- Enjoy a Creative Hobby: It’s a simple and relaxing way to enjoy gardening and cooking.
2. Getting Started with Herb Drying
- Choose the Right Herbs: Start with easy-to-dry options like basil, oregano, mint, rosemary, and thyme.
- Pick the Perfect Spot: Select a dry, well-ventilated area away from direct sunlight to hang your herbs.
- Gather Supplies: You’ll need string, scissors, and clean containers to store your dried herbs.
3. Simple Steps to Dry Your Herbs
- Step 1: Harvest with Care
- Cut herbs in the morning after dew has dried but before the sun gets too hot.
- Use clean scissors or pruning shears to avoid damaging the plants.
- Step 2: Bundle and Hang
- Gather small bunches of herbs and tie the stems together with string.
- Hang them upside down in a well-ventilated area.
- Step 3: Wait and Check
- Allow 1–2 weeks for the herbs to dry completely. They’re ready when they crumble easily.
- Step 4: Store Your Herbs
- Remove the dried leaves and store them in airtight containers. Label each container with the herb’s name and drying date.
4. Tips for Success
- Experiment with Different Herbs: Expand your collection with lavender, sage, or dill as you grow more confident.
- Use a Dehydrator: If you prefer a faster method, consider using a food dehydrator.
- Craft Homemade Gifts: Package your dried herbs in small jars with decorative labels to share with friends and family.
Conclusion
Starting a simple herb drying project at home is a delightful way to save money, enhance your cooking, and enjoy a creative hobby. At SeniorSearching.com, we’re dedicated to bringing you ideas that enrich your life. Remember, none of this is possible without good health. Visit SeniorHMOplans.com today to find the perfect plan that keeps you healthy and active to enjoy hobbies like this.
FAQs Section
1. What herbs are easiest to dry at home?
Basil, oregano, rosemary, thyme, and mint are great choices for beginners. These herbs dry quickly and retain their flavor well.
2. How long does it take to dry herbs?
Most herbs take 1–2 weeks to dry completely when hung in a well-ventilated area.
3. Can I dry herbs without hanging them?
Yes, you can use a food dehydrator or oven on a low setting (100–120°F) to dry herbs quickly.
4. How should I store dried herbs?
Store dried herbs in airtight containers, away from light and heat, to preserve their flavor and aroma.


