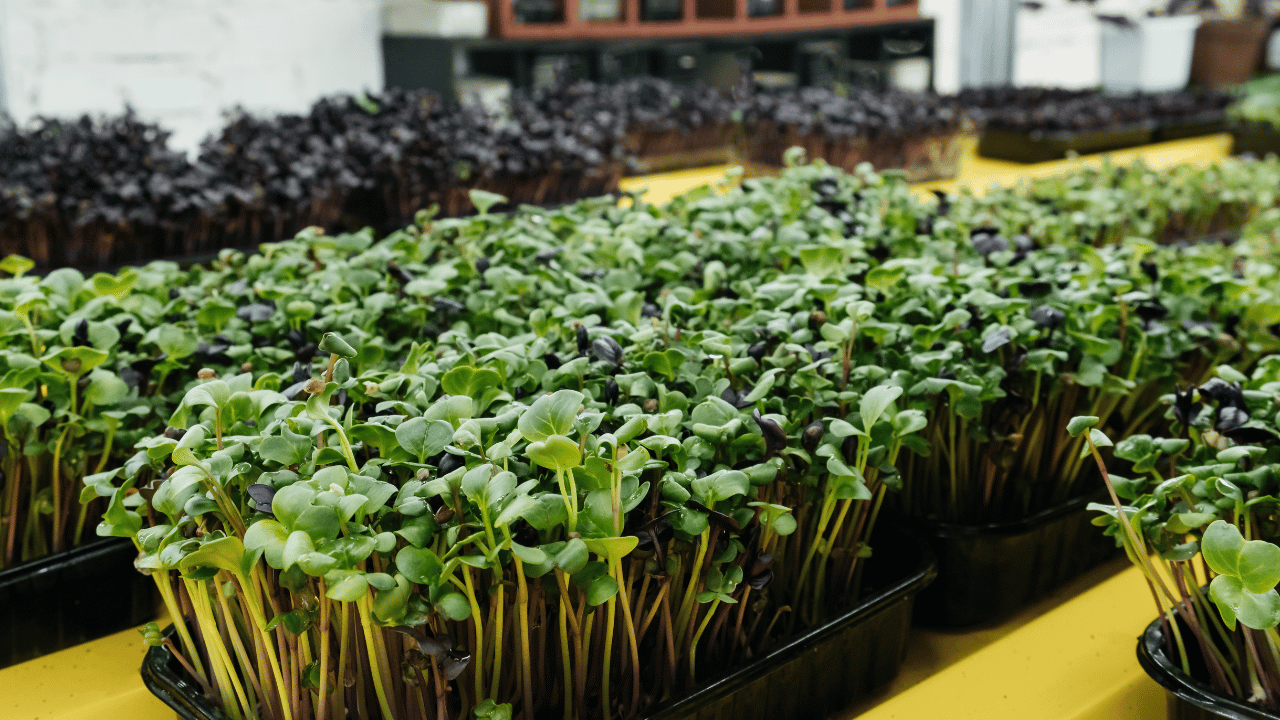
Imagine having fresh, nutritious greens at your fingertips, no matter the season. Starting an indoor microgreens garden is a simple and rewarding hobby that brings the joy of gardening into your home. In just a few weeks, you can grow vibrant, flavorful greens perfect for salads, sandwiches, or garnishes—right on your kitchen counter.
Good health begins with great choices. Visit SeniorHMOplans.com to explore health plans designed for active, vibrant living.
Step-by-Step Guide to Growing Microgreens
- Gather Your Supplies:
- Seeds: Start with easy-to-grow varieties like sunflower, radish, or broccoli.
- Containers: Use shallow trays, takeout containers, or repurposed baking pans with drainage holes.
- Soil: Choose a light, well-draining potting mix or coconut coir.
- Watering Tools: A spray bottle works best for gentle watering.
- Plant Your Seeds:
-
- Fill your container with soil, leaving about an inch of space at the top.
- Sprinkle seeds evenly across the surface and press them lightly into the soil.
- Mist the surface with water to keep it moist.
- Create the Right Environment:
-
- Place your trays in a spot with bright, indirect sunlight, such as a windowsill.
- If natural light is limited, use a grow light to ensure your plants thrive.
- Cover the trays with a lid or plastic wrap for the first few days to retain moisture.
- Water and Care:
-
- Mist the soil daily to keep it moist but not soggy.
- Remove the cover once the seeds begin to sprout, usually within 2–3 days.
- Rotate the trays regularly to ensure even growth.
- Harvest Your Microgreens:
-
- Within 10–14 days, your microgreens will be ready to harvest.
- Use scissors to cut them just above the soil line.
- Rinse the greens and enjoy them fresh or store them in the refrigerator for up to a week.
Practical Tips for Success
- Experiment with Varieties: Try different seeds to discover your favorite flavors and textures.
- Reuse Materials: Repurpose trays or containers to save money and reduce waste.
- Incorporate Greens Into Meals: Use microgreens to elevate dishes like soups, stir-fries, or wraps.
- Keep It Simple: Start small with one or two trays and expand as you gain confidence.
Common Questions Answered
- Can I grow microgreens without natural sunlight?
- Yes! A small grow light provides ample light for healthy growth.
- What are the nutritional benefits of microgreens?
-
- Microgreens are packed with vitamins, minerals, and antioxidants, often containing higher nutrient levels than their mature counterparts.
- How do I prevent mold in my trays?
-
- Ensure good airflow and avoid overwatering. Using trays with drainage holes can also help prevent excess moisture.
Why Microgreens Gardening Is Perfect for Seniors
Growing microgreens offers more than just fresh produce—it provides a sense of accomplishment and connection to nature. This hobby is ideal for seniors because it requires minimal space, time, and effort while delivering big rewards. The vibrant colors and fresh aromas of microgreens can brighten any room, and harvesting them brings a sense of joy and purpose.
Imagine sharing a meal with loved ones featuring greens you grew yourself. Picture the satisfaction of watching tiny seeds transform into lush, edible plants in just a matter of days. Whether you’re a seasoned gardener or a complete beginner, microgreens gardening is a wonderful way to stay active, creative, and healthy.
Fresh, healthy, and fun! Start your microgreens garden today. For more tips and ideas, visit SeniorSearching.com.


